Sunday, August 21, 2011

Aprons

A while back I posted an apron that I had made for one of my roommates. The plan was to do four more for the rest of my gals, but as Summer neared its end I realized I had forgotten about the project. That's why I found myself frantically fixing and sewing four aprons in my last two days here in St. George. I had the fabric and didn't want to waste it. Plus I needed to get in as much sewing on my moms machine as possible before I moved away from it (and them). ha. 


So here they are! finally. Each aprons is the colors that they wanted. I tried to fit the styles to their personality and body type. Hopefully I got it right. My new sister-in-law Laura was nice enough to model them for me. hah love you Laura. 

Here are all the girls. 


Caitlin   
She will be the one sharing my room with me! I love her, and the colors on this one. I used the top from a fat quarter I bought for $1.25. The bottom is a 1/2 yard of fabric, along with another 1/4 yard for the belt. I didn't follow a pattern--kinda just made it up as I went. It took a couple tries and LOTS of unstitching to get it right. 

 Emilee
She loves orange so I tried to do an orange top that wouldn't look too much like Halloween orange. I spent $3 on the fabric for this apron. My favorite part is the added flower embellishment that I found in my moms craft room. 

 Summer
Summer requested pink & yellow. This one is the most simple but is actually my favorite. I did a lighter pink for the tie in the back, and a darker pink for the top tie. I added two cute buttons to the top and voila! 

 Berkley
Berkface actually came with me to pick out her fabric so I can't take credit for the colar scheme(which I love). I did add the white ruffle on the bottom to give it more length because I ran out of fabric. I had to unpick this one three times! I've definitely learned that patience is a must when you sew. You can't speed. 


Lacey
I have already show this one, but I would just like to add that I love the ruffles so much! Lacey and Berk are the most girly. That's why I did theirs with them. 

 I had to throw in a picture of cute Laura. Even though she didn't want me to! 

So there you have it. Super easy (if you have patience), super cheap, and super fun. You can make up your own pattern, or follow one. I found some patterns at Joannes for only $2 so If you need one to follow, go there!

--Rachel 


Monday, August 15, 2011

Refurbished Key Frame


Pinterest has given me lots of great ideas lately. If I'm not careful, I spend way too much time on it every day. I saw this a couple weeks back and finally embarked on making it today! 


I did not have as unique of a frame or keys--but I did have them! 


1. Paint frame purple. 

I bought a fat quarter of fabric on Saturday for $1.25 and found the perfect use for it today.
 2. cut out a section of fabric and glue it to the cardboard backing of the frame. 

 It's a map of France! 
 3. glue keys on and attach the backing to the frame. 

It took me only thirty minutes! 
Mazel Tov.
-Rachel 

Saturday, August 13, 2011

The Knotted Headband

Neglected. That's how our blog is feeling these days. 

Never fear: 

Since I'm moving back to Provo in 1 week, I've got about 10+ projects I've been meaning to finally post but have not gotten around to. Pillows, aprons, rugs, and a whole lot of refashioned clothes shall be shown by the end of the week. . . hopefully! 

I'll start small with the two headbands I made in about twenty minutes today. 

They were extremely easy, and I got them done in one "What Not To Wear Episode".  

Here is the tutorial I found through pinterest (I love that website). 

For the first one, I chose to make it a little more dressy (which I used out of the suggested yarn). 


The second one was made from an old green t-shirt that I'll use to keep my hair back when I go running. 


I loved how they turned out!

I promise that by the end of the week I'll have 10 more posts. 
Maybe. 

-Rachel 


Wednesday, August 3, 2011

keyboard. as in a board for keys, not a piano...


hooray! I'VE POSTED! it's only been like forever! it looks rather crooked (in many ways) and shiny...and colorlessly light....but i promise it's cuter in real life. it's a keyboard for our apartment! yay! and now shark week is calling my name.

-the long lost emilee

Monday, August 1, 2011

Wood-Fabric-Mod Podge-Pictures

First, I would just like to say that this is funny. And true. My Glue gun is proving to be my greatest nemesis. 

And now kids, my Sunday craft: 


I found this on Pinterest and thought it would be fun to have something like that in my apartment somewhere. I scoured my house and found some old clothespins, wood/board, hot glue, mod podge, white paint, and scraps of old fabric. I was originally going to do the whole white-on-white idea, but decided to add some fabric and keep it a little more country instead. 

Step by step: 
1. Paint the side of the board white
2. cut up fabric strips into different lengths. 
3. Organize a pattern
4. Mod Podge the fabric on over the top of the wood. Note: You don't have to put the mod podge over the top if you don't want to-just underneath.
4. measure out equal distances for the clothespins and hot glue them on. 
5. find some cute pictures to put in it! 


This project ended up taking me about a half hour. What's also great about it is that it cost me nothing. If you did go out to buy the supplies, this is an under $10 project and is quite fun to make!
-Rachel

Tuesday, July 26, 2011

Trash

This project, is what started it all.
During winter semester I worked at the BYU bookstore. Every day at work I would pass my favorite office as I did my odd jobs around the store. The only reason why it was my favorite office was because of the map trash can.

I saw it one day, and fell in love with the idea of putting a map around a trash can. Oddly enough, walking by it every day got me thinking about how I needed to start making more things since that is what I love to do.

So I've waited all summer to do this one folks.
Here you go.

1. My dad gave me one of his old Utah maps (I found using one of Utah fitting).

2. I grabbed an old bucket my mom had sitting in our living room.

3. Bought mod podge from Michael's for $4.

4. 20 minutes later, I was done.


This one is a little weird, but I cant even tell you how excited I am to walk into my room every day and throw my very own trash inside my very own map trash can.

Mazel tov
-Rachel

Sunday, July 17, 2011

Guest Post : Alex Halladay

Well hello friends! My name is Alex Halladay. I go to BYU with Em and Rach, and I lived next door to the Wades for seven years of my life. I'm (hopefully) a graphic arts major with a love for art, music, fashion, and dogs. :) I also blog every now and then. Check me out here!

(Yours truly on the left, and Ash on the right. Think we love BYU?)

Isn't this blog idea adorable? I'm obsessed. Emilee and Rach are amazing. When Rachel asked me to do this guest post I sort of laughed. . . I'm not really all that crafty. However, I have two crafty things to share with you!

The handmade flower necklace:
Before we get down to business, I have to give my good ol' friend Ashley some credit. (Pictured above.) She basically had to teach me how to make all the flowers. She's pretty much a big deal. You can find her headbands and such by clicking here


Ok folks, my photography skills reek these days, but here is what you are learning how to make!


I'm sorry I didn't take pictures during the process!

1. Basically I just made a bunch of random sized flowers. I actually ended up not using a lot of the ones I made. Just have fun with it! I actually think putting in one of the bows Emilee told you all about would be cute as well. 

2. I arranged them like fifty different ways. I got a second opinion a few times and finally came up with this arrangement. 

3. Once I decided that it looked good, I just glued them all together on the sides with a hot glue gun. Don't put too much though. You don't want it to show through. 

4. Now put A LOT of glue down on a piece of felt (mine is gray), place the flowers on top, and then cut around the edges. 

5. As far as ribbon goes, I couldn't decide what I thought looked good, so I ended up just pinning different kinds of ribbon to it. It actually turned out to be a pretty good idea, that way you can wear it with a lot of different outfits. (as pictured below)


It's as simple as that! I was looking sort of homeless today, so I had my little sister model for me. 


Next item. . . 

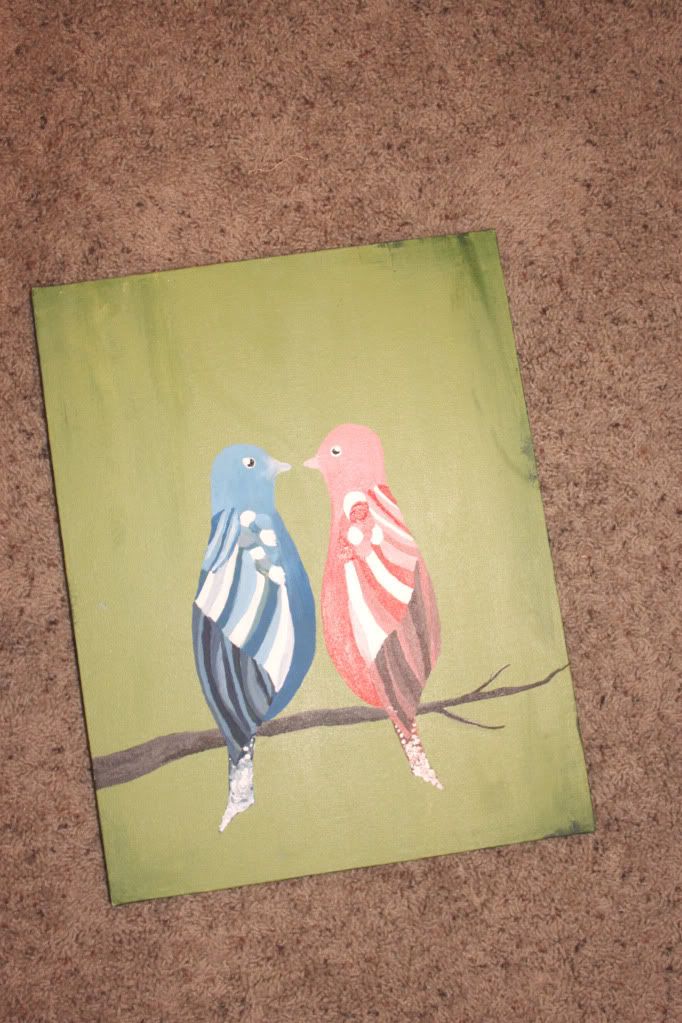
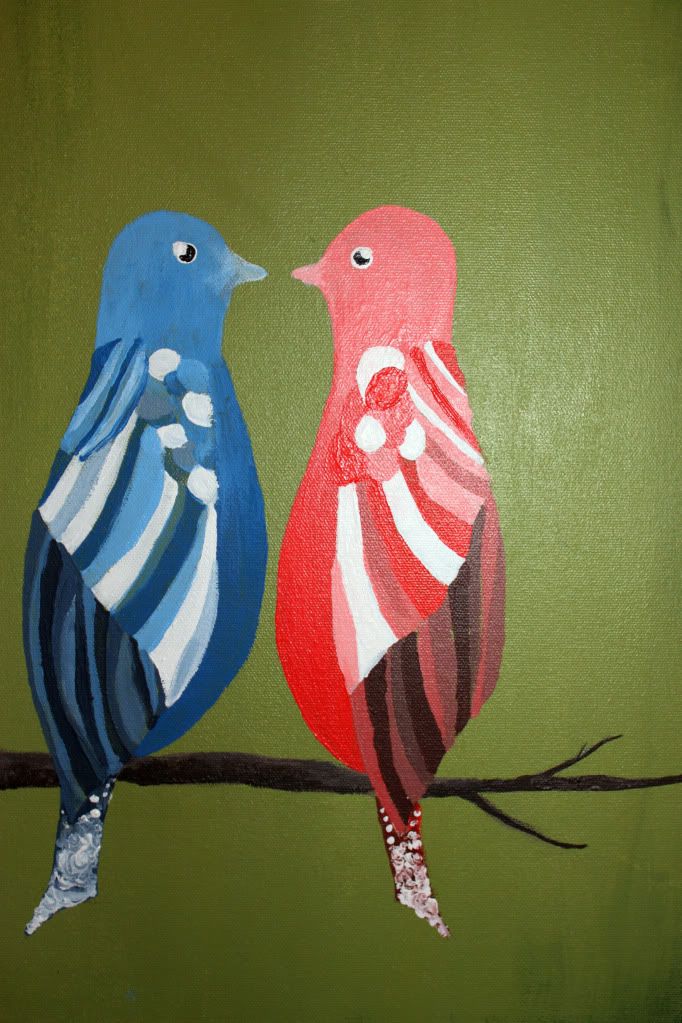
Bird Painting:

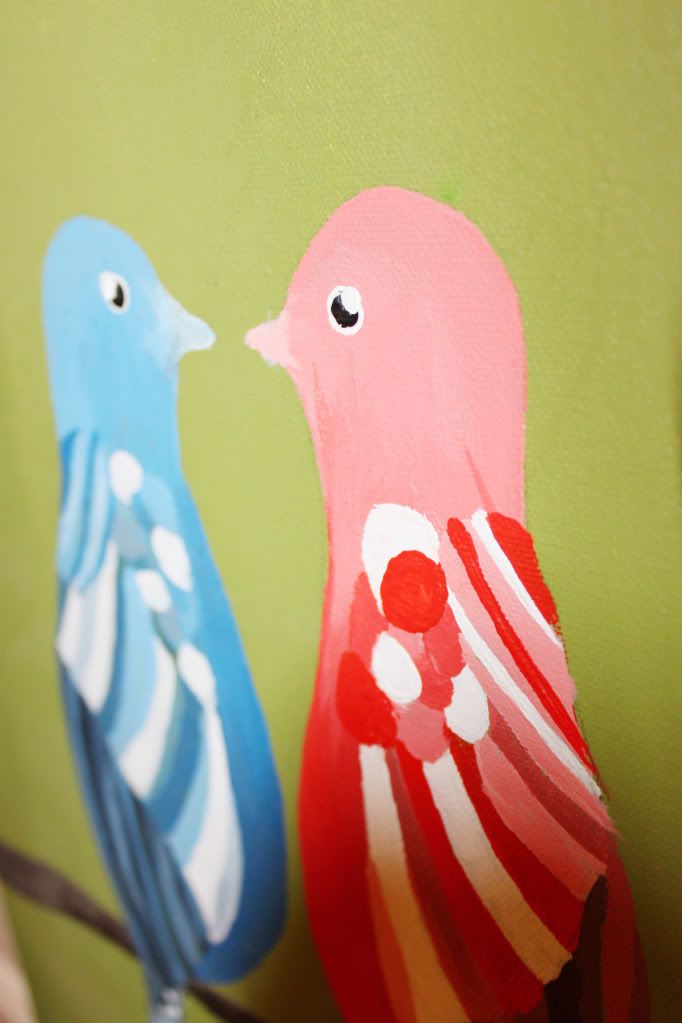
Alright so I may be an artsy sort of person, but painting has never really been my thing. I asked for a canvas and some art supplies for Christmas. This was back when I had a boyfriend and I told him I would paint us as birds. Cheesy, I know. Anyway, I finally finished it after he left on his mission! Here it is! It's nothing special but I was proud of my little birds. 


Well that's all I have for ya folks! Happy crafting!