Well hello friends! My name is Alex Halladay. I go to BYU with Em and Rach, and I lived next door to the Wades for seven years of my life. I'm (hopefully) a graphic arts major with a love for art, music, fashion, and dogs. :) I also blog every now and then. Check me out
here!
(Yours truly on the left, and Ash on the right. Think we love BYU?)
Isn't this blog idea adorable? I'm obsessed. Emilee and Rach are amazing. When Rachel asked me to do this guest post I sort of laughed. . . I'm not really all that crafty. However, I have two crafty things to share with you!
The handmade flower necklace:
Before we get down to business, I have to give my good ol' friend Ashley some credit. (Pictured above.) She basically had to teach me how to make all the flowers. She's pretty much a big deal. You can find her headbands and such by clicking
here
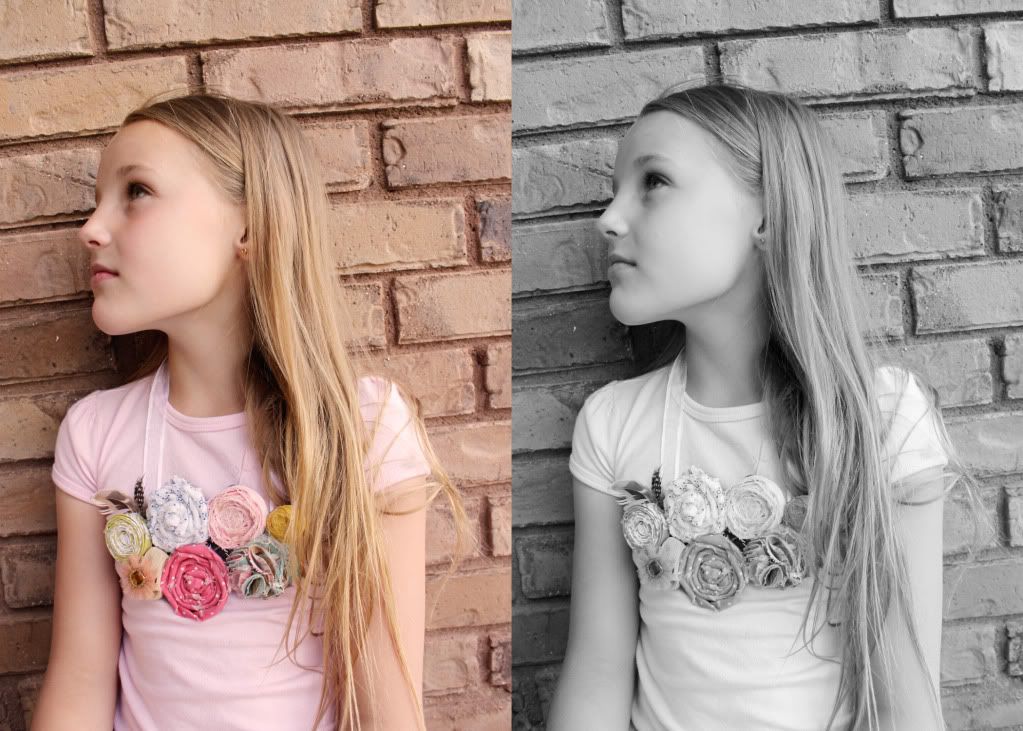
Ok folks, my photography skills reek these days, but here is what you are learning how to make!
I'm sorry I didn't take pictures during the process!
1. Basically I just made a bunch of random sized flowers. I actually ended up not using a lot of the ones I made. Just have fun with it! I actually think putting in one of the bows Emilee told you all about would be cute as well.
2. I arranged them like fifty different ways. I got a second opinion a few times and finally came up with this arrangement.
3. Once I decided that it looked good, I just glued them all together on the sides with a hot glue gun. Don't put too much though. You don't want it to show through.
4. Now put A LOT of glue down on a piece of felt (mine is gray), place the flowers on top, and then cut around the edges.
5. As far as ribbon goes, I couldn't decide what I thought looked good, so I ended up just pinning different kinds of ribbon to it. It actually turned out to be a pretty good idea, that way you can wear it with a lot of different outfits. (as pictured below)
It's as simple as that! I was looking sort of homeless today, so I had my little sister model for me.
Next item. . .
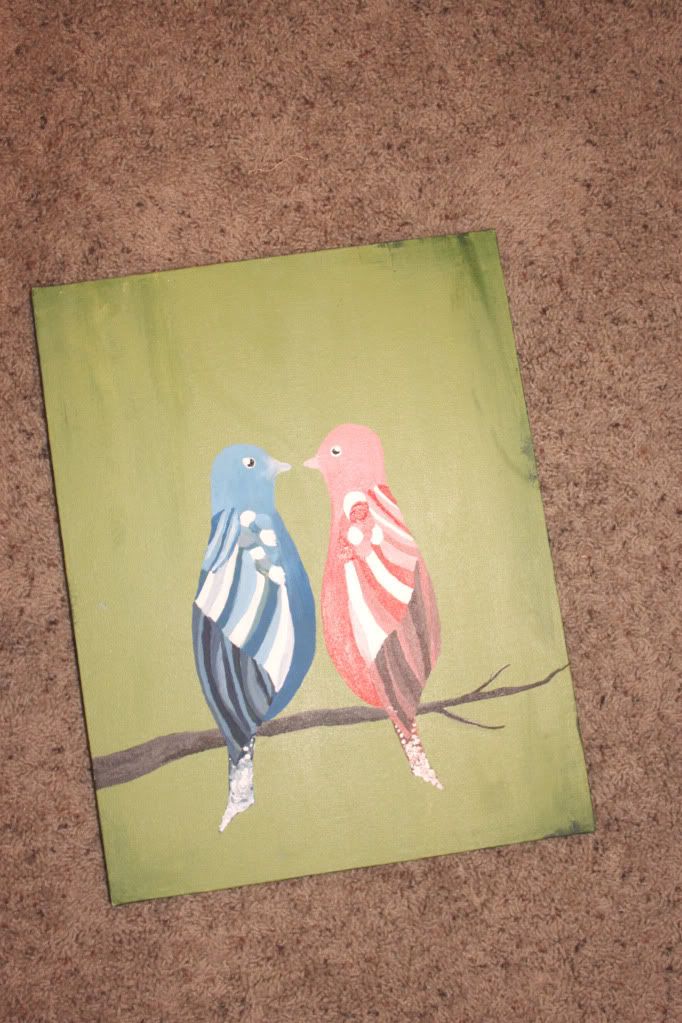
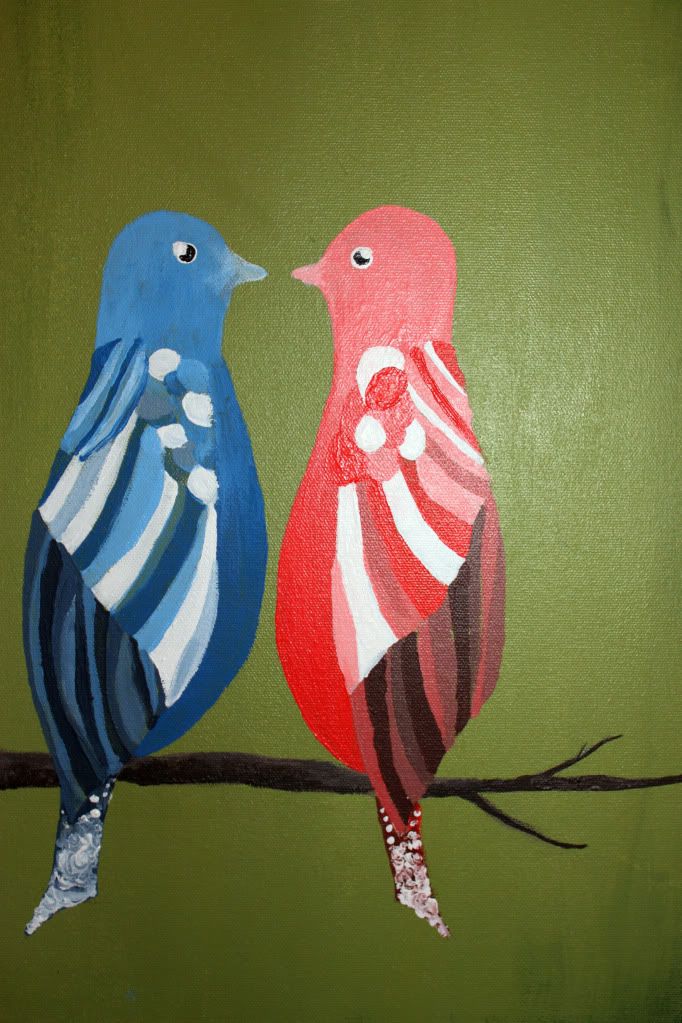
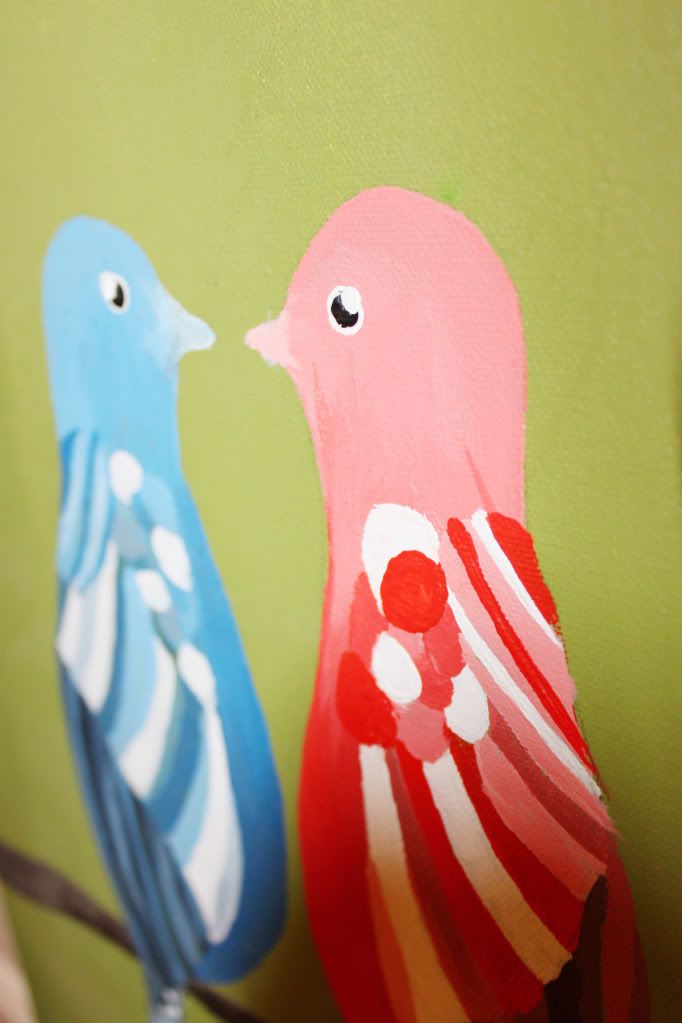
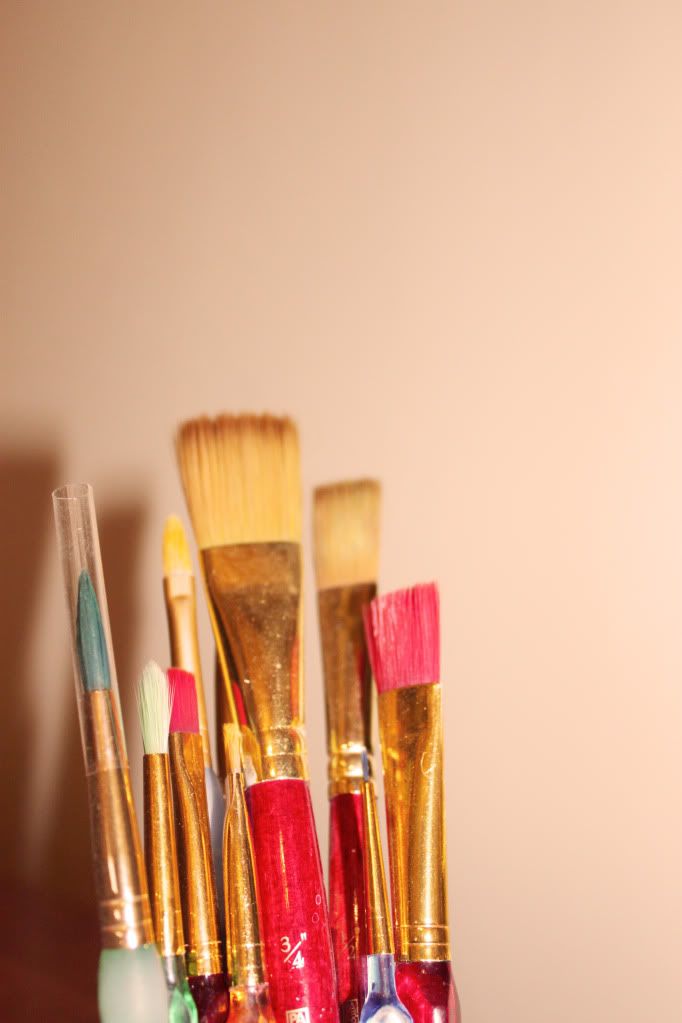
Bird Painting:
Alright so I may be an artsy sort of person, but painting has never really been my thing. I asked for a canvas and some art supplies for Christmas. This was back when I had a boyfriend and I told him I would paint us as birds. Cheesy, I know. Anyway, I finally finished it after he left on his mission! Here it is! It's nothing special but I was proud of my little birds.
Well that's all I have for ya folks! Happy crafting!